
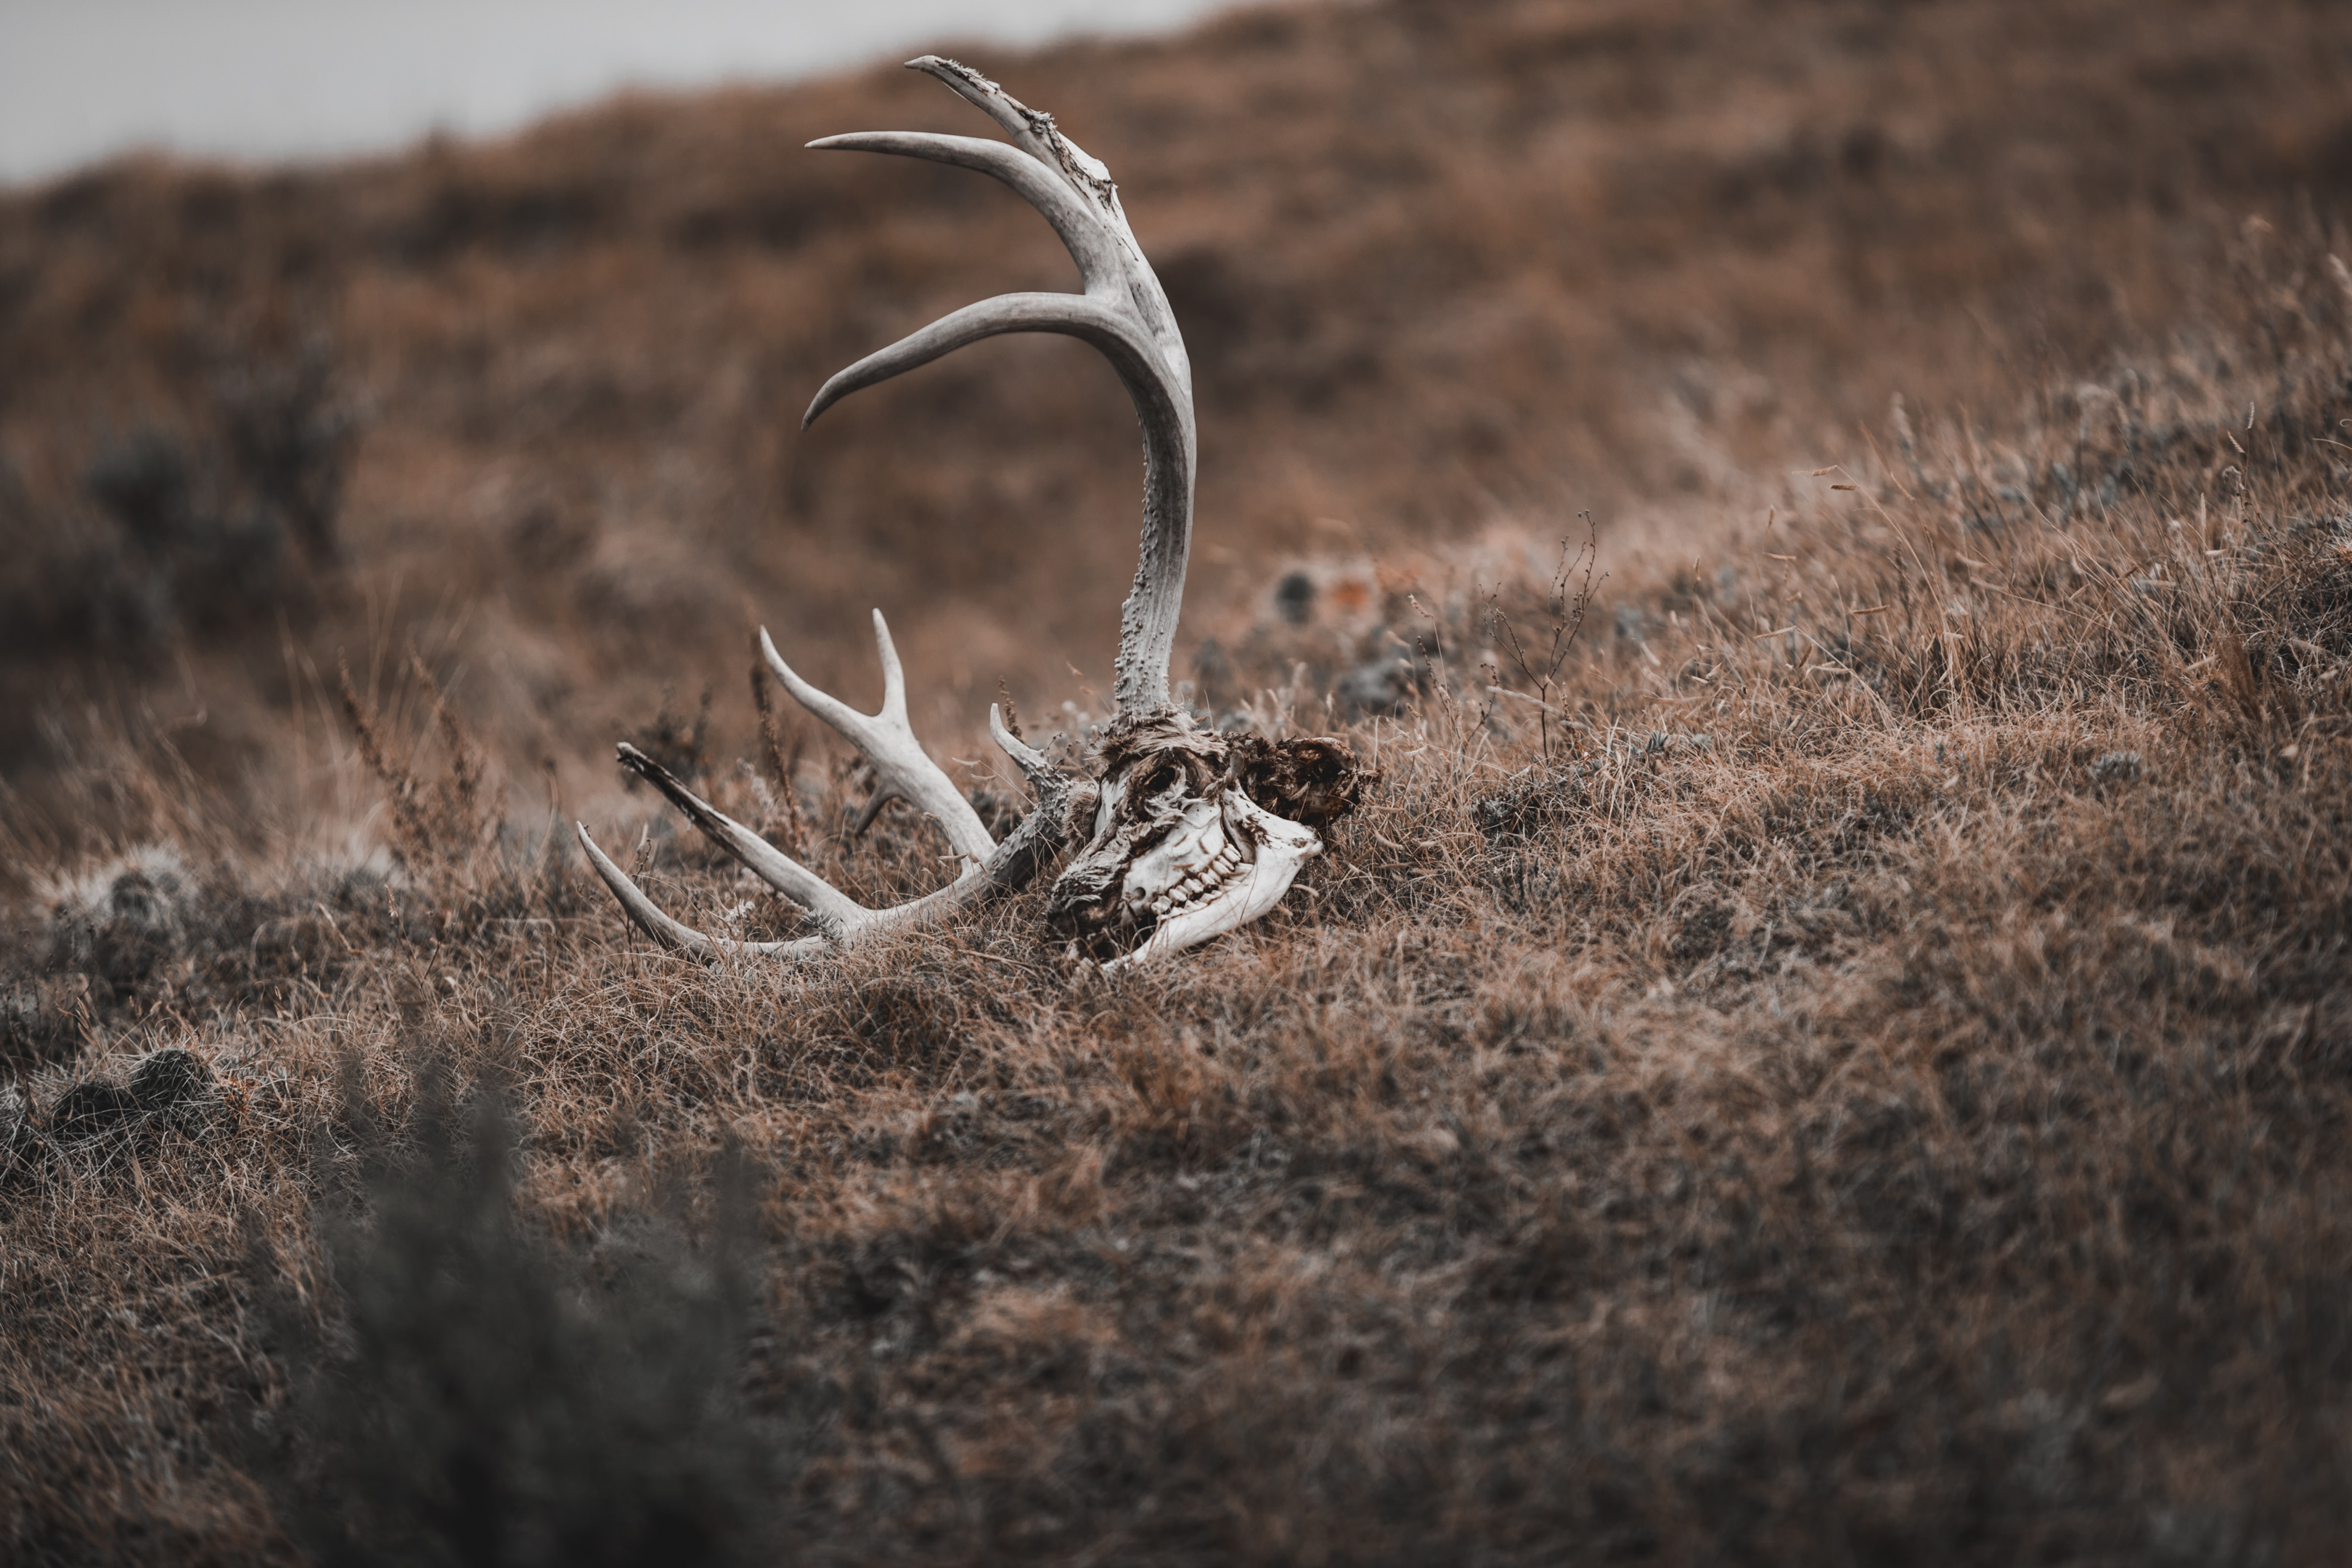
Usually, when people ask where they can get information on how to preserve deer antlers, they want to know how to clean and preserve the skull cap to which the antlers are attached. Or perhaps you have a set of rusted, filthy deer antlers that needs cleaning.
In this article, we’ll go over several cleaning techniques for deer antlers as well as other tips for preserving antlers. Follow these easy steps to learn how to preserve deer antlers for mounting.
What Are Deer Antlers?
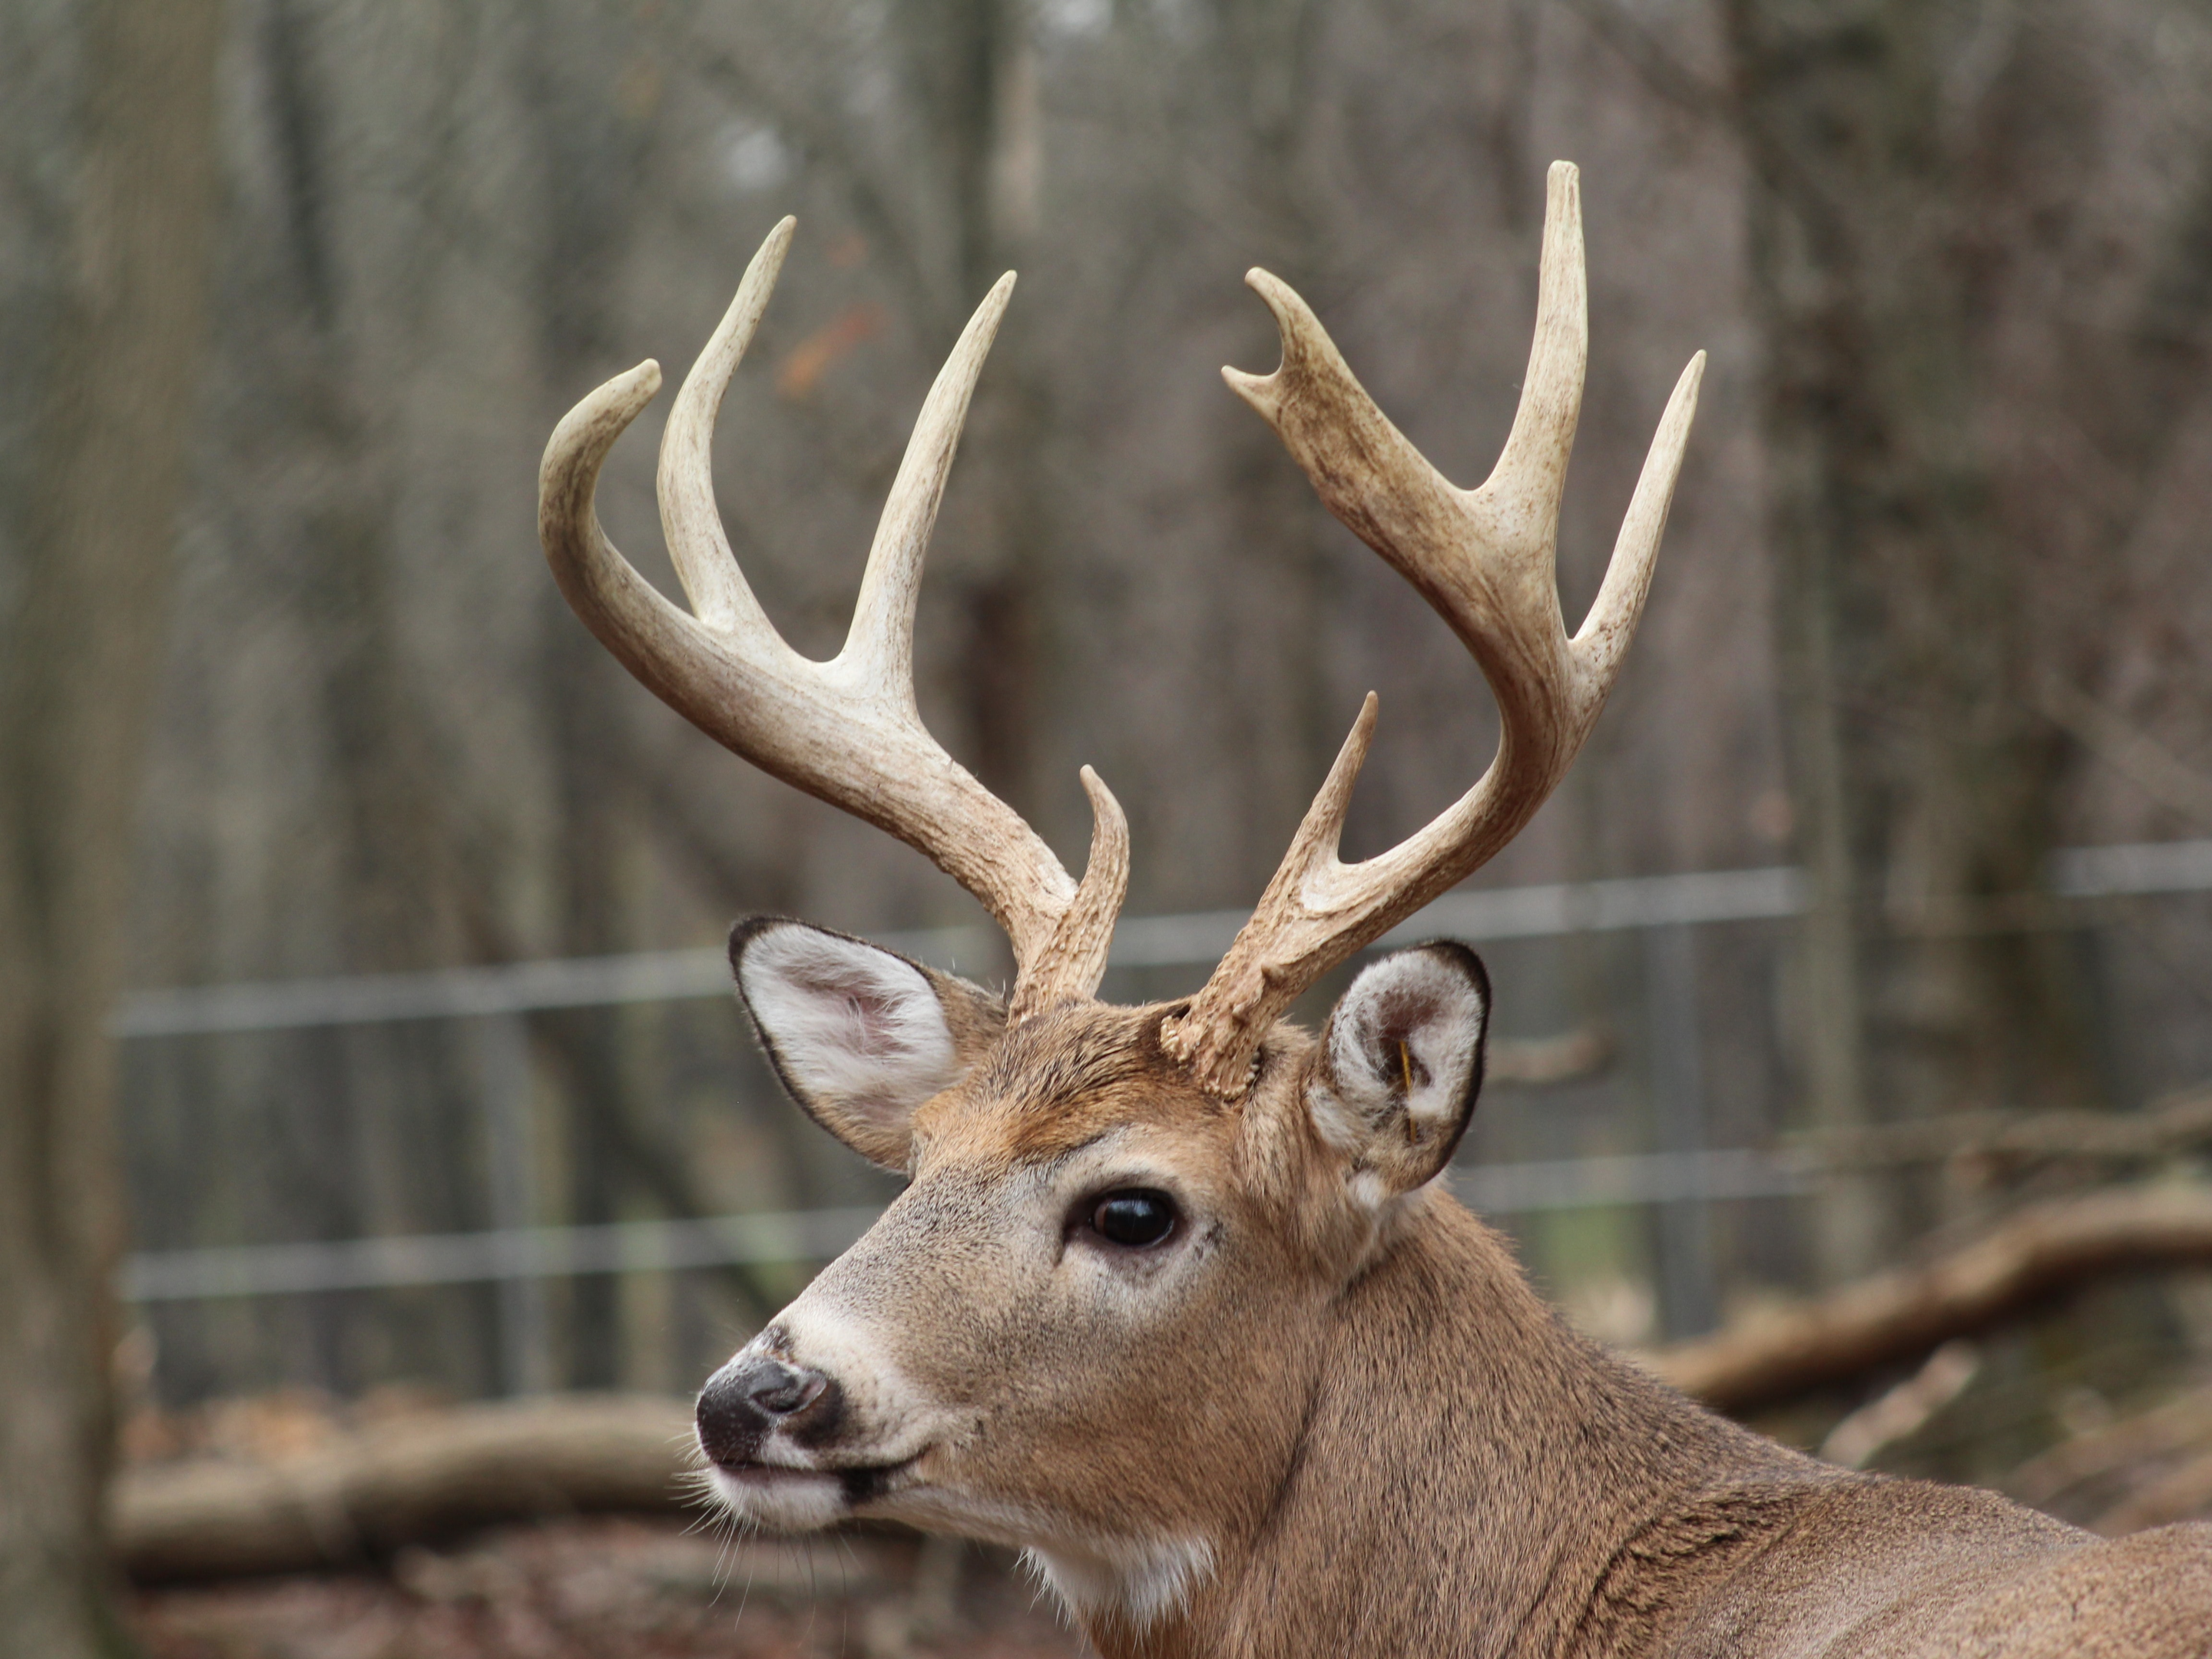
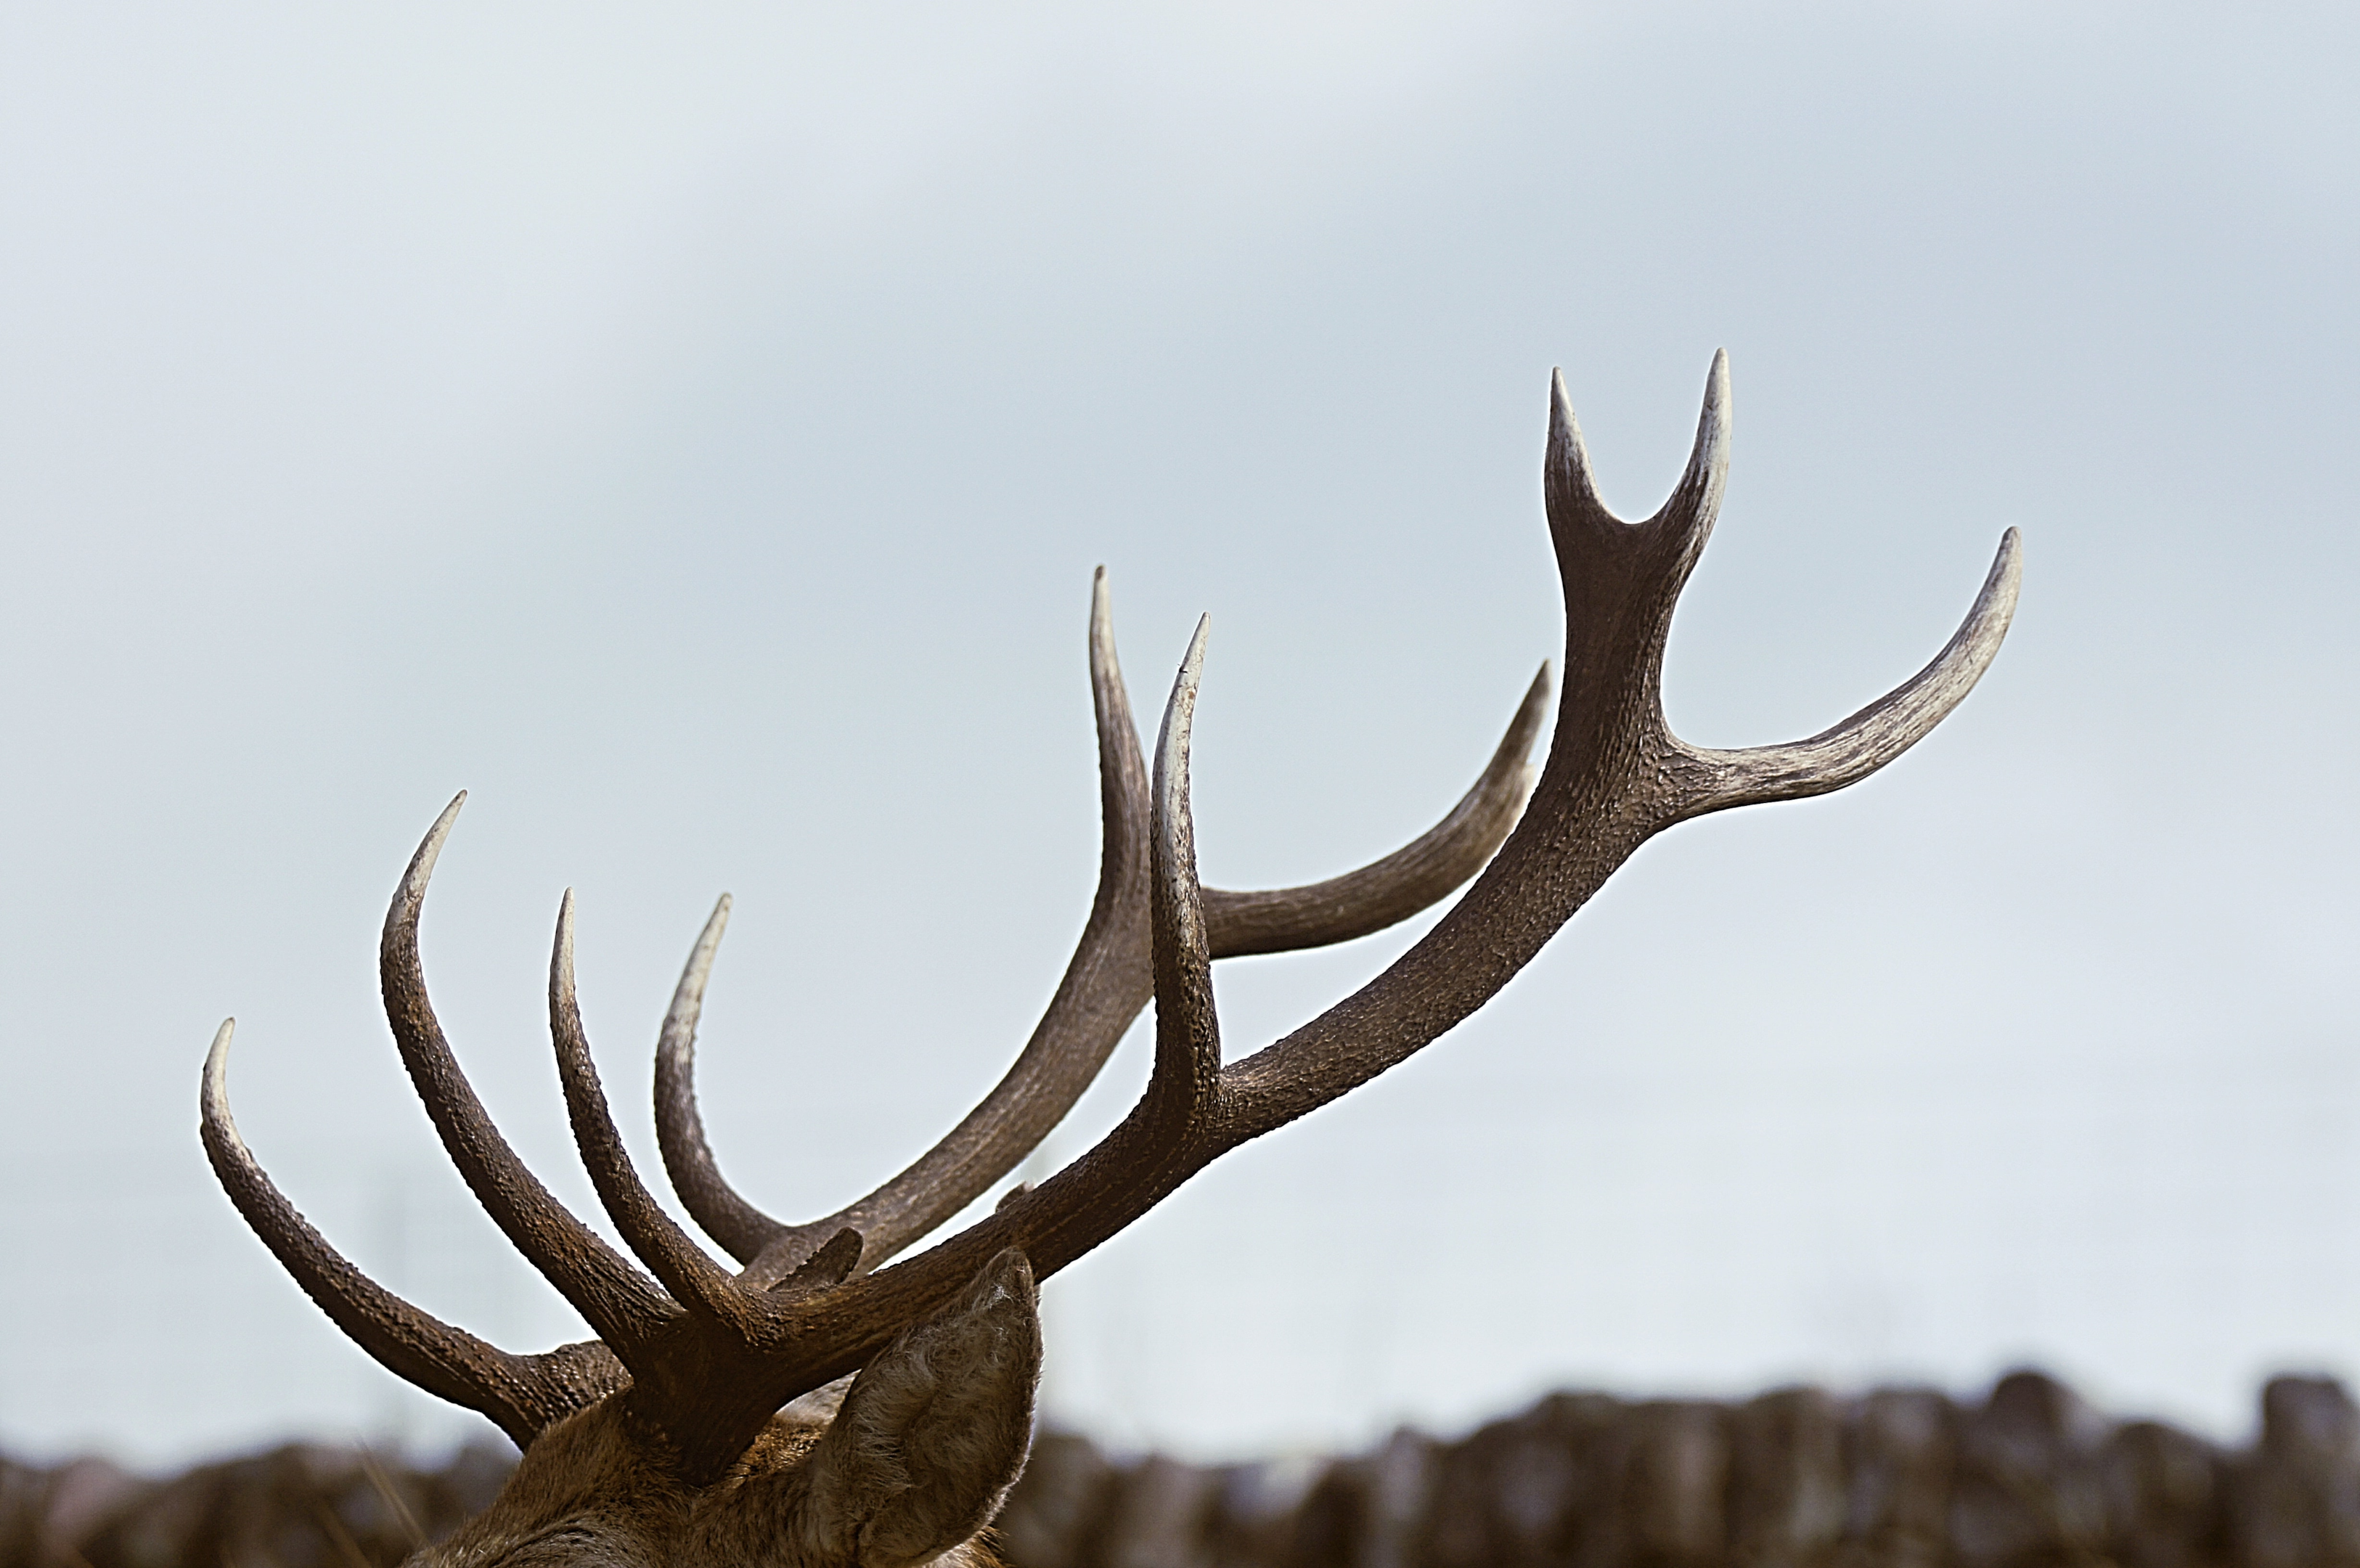
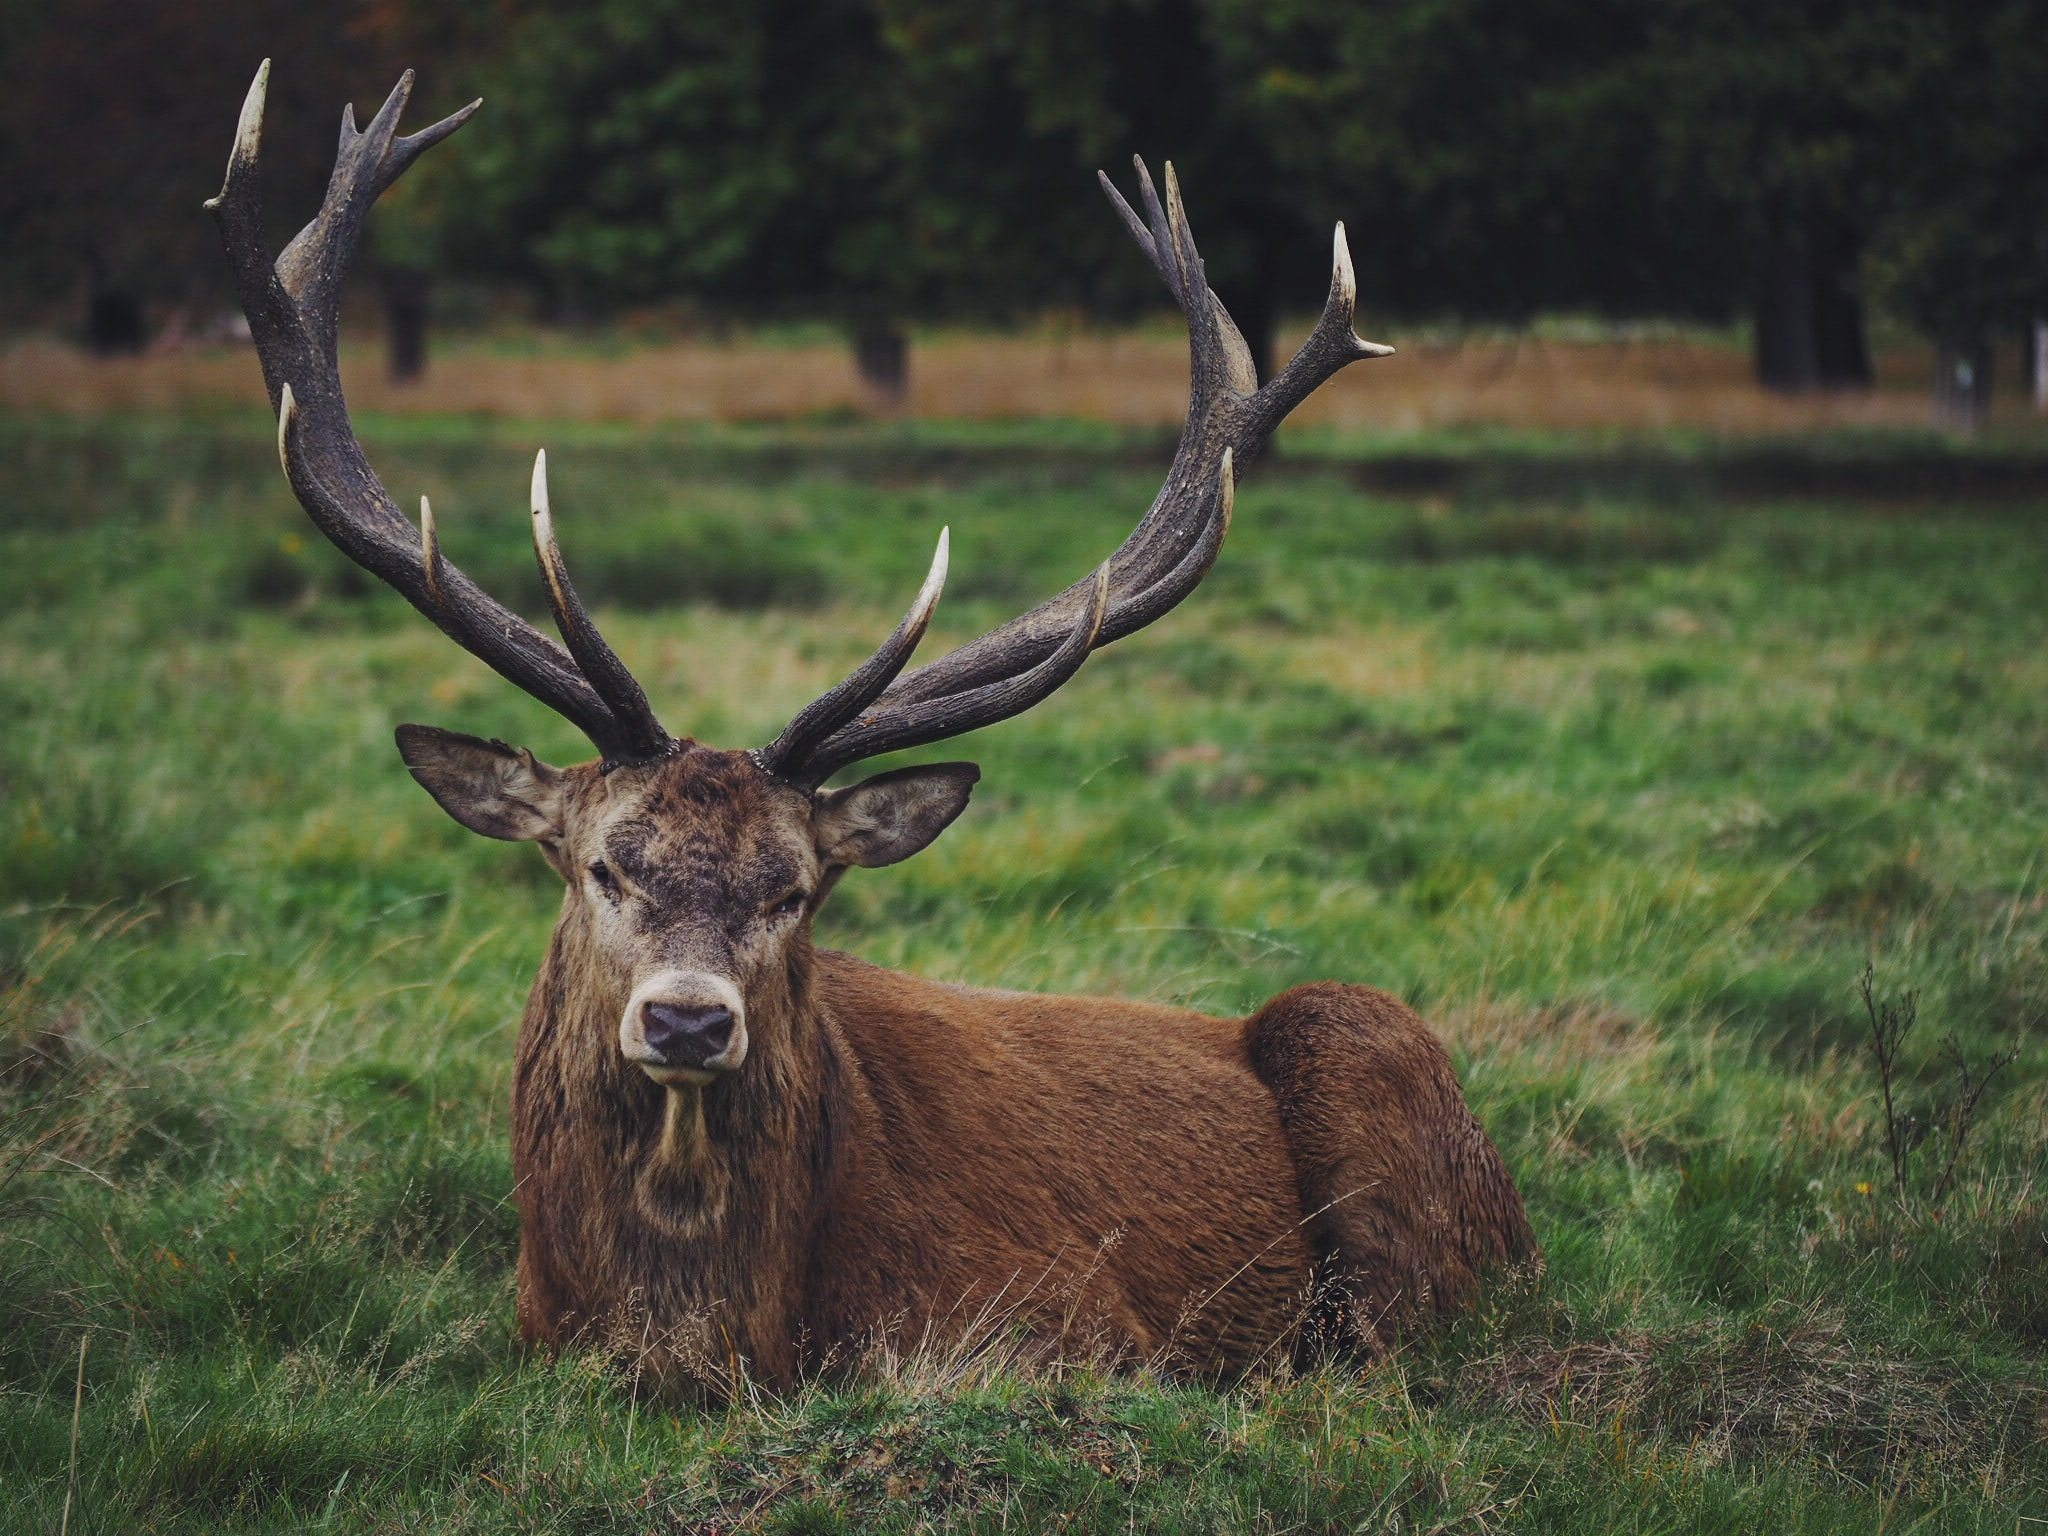
The antlers of a deer are not only striking in appearance but also highly complex and fascinating. They begin as living tissue and eventually develop into a more bone-like structure.
White-tailed deer males typically begin developing antlers at around the 6-month mark. Light levels play a crucial role in stimulating development. Antler growth is stimulated by the reduction of the hormone melatonin, which occurs when an animal is exposed to more light.
Antler’s development also depends on a wide variety of other hormones. Unique among animal tissues, antlers grow quickly. They can increase in length by half an inch to an inch or more per day. However, human hair grows slower, only around an inch each month on average.
Velvet Antlers vs. Hard Antlers
The antlers require a lot of nutrition to support their rapid growth when they first begin to develop. In the early stages, the antlers are flexible because of the high concentration of blood and water throughout the structure. The antlers are coated in velvet, a soft fuzz during this time.
A burr develops at the antler’s base by the conclusion of the growing season in the autumn. Also, the blood supply is interrupted by this burr. The velvet on the antlers cracks and peels off as they harden. From being brimming with blood, they gradually become composed of calcium and phosphate.
Many animals consume the velvet that comes off the antlers because of its nutritiousness. In addition, it has wide applications in alternative medicine.
Horns vs. Antlers
Despite being effective for antlers, the below preservation techniques will not work for horns. Horns, in contrast to antlers, are not bone outgrowths.
Instead, horns have two components: The outside portion is a sheath comprised of keratin, the same thing that makes up our fingernails. In addition, a bone core can be found inside.
The covering of the horn is thin and easily breaks. As a result, the sheath will split and twist if submerged in water for any time. In the same way, leaving the skull to beetles or other insects could result in the horn sheath being devoured.
Why Preserve Deer Antlers?
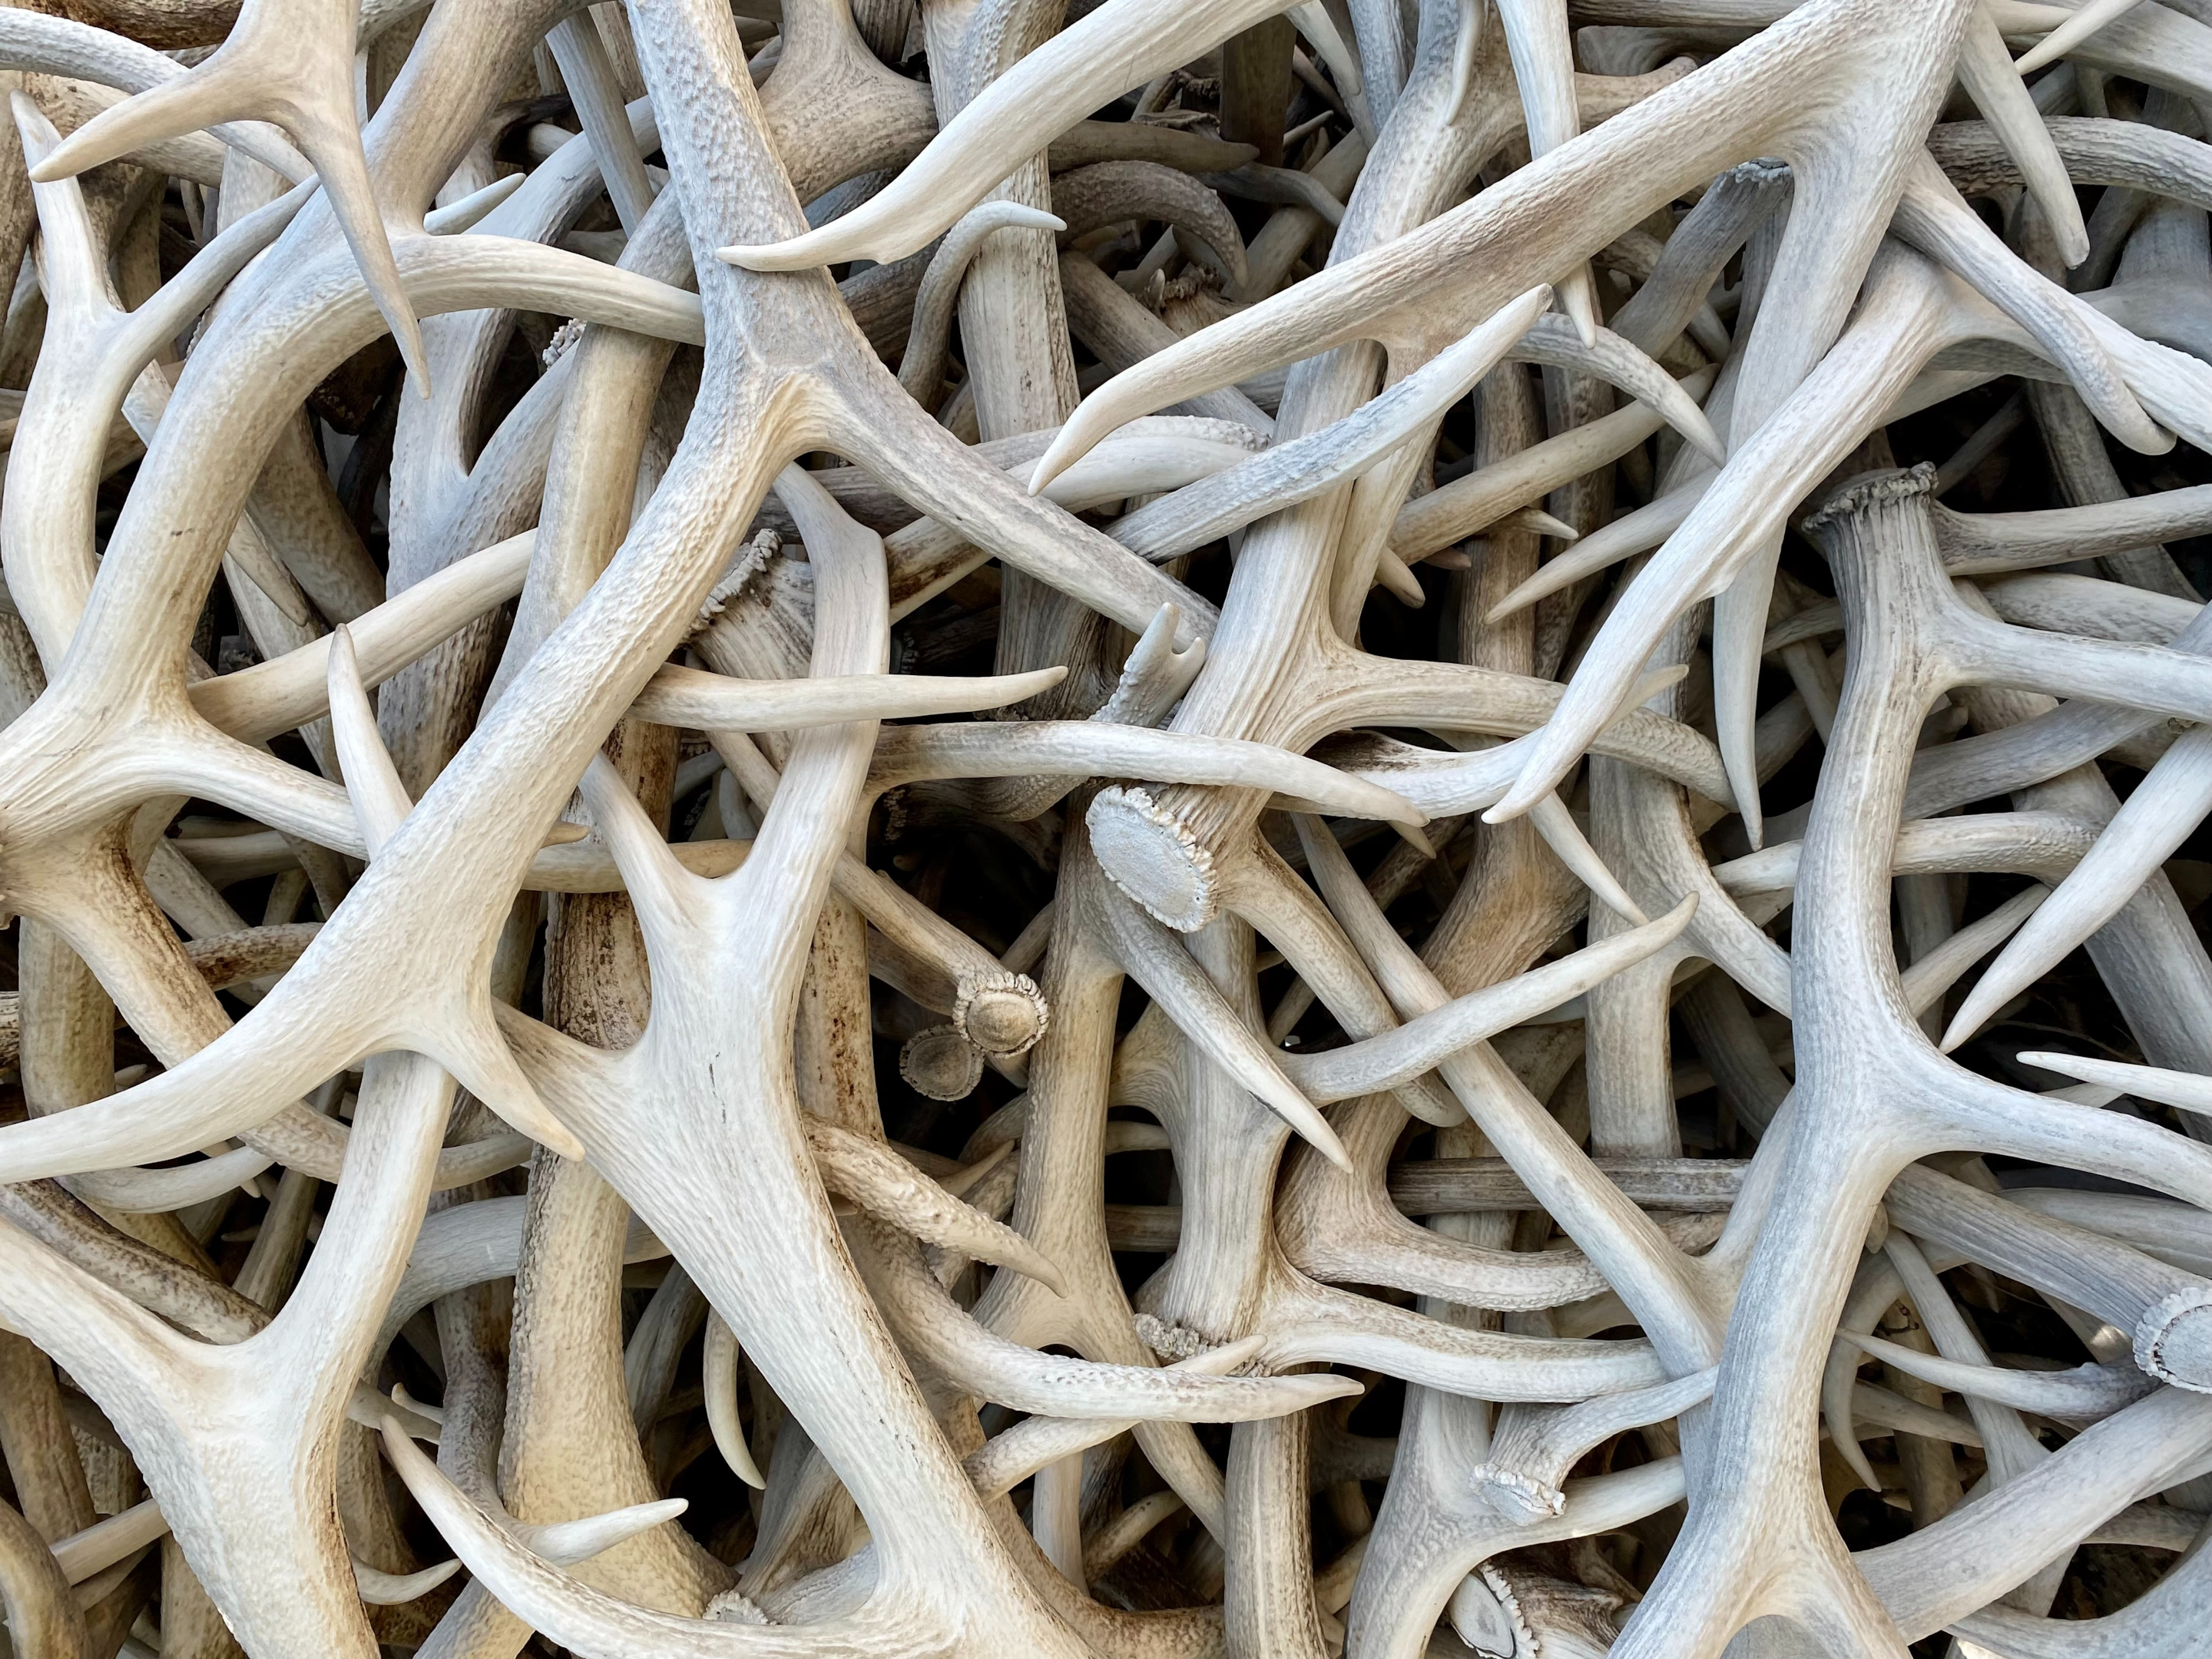
Antlers from a deer are a stunning piece of nature that may be used to decorate your home. However, if you have access to newly shed antlers, you may ask what methods exist to ensure their longevity.
Deer antlers can be preserved in several ways, the most popular of which is to soak them in a solution of Borax and water. Borax is an all-natural disinfectant and pesticide, so you may use it to keep mold and insects away from your antlers.
How to Preserve Deer Antlers
Antlers that have been shed and are still in good condition are a wonderful prize, as any wildlife enthusiast will attest. However, just like preserving sunflowers and roses, the antlers will degenerate without proper maintenance due to normal tissue degradation and rodent gnawing.
Fortunately, you can employ a few techniques to preserve the best potential appearance for your deer antlers.
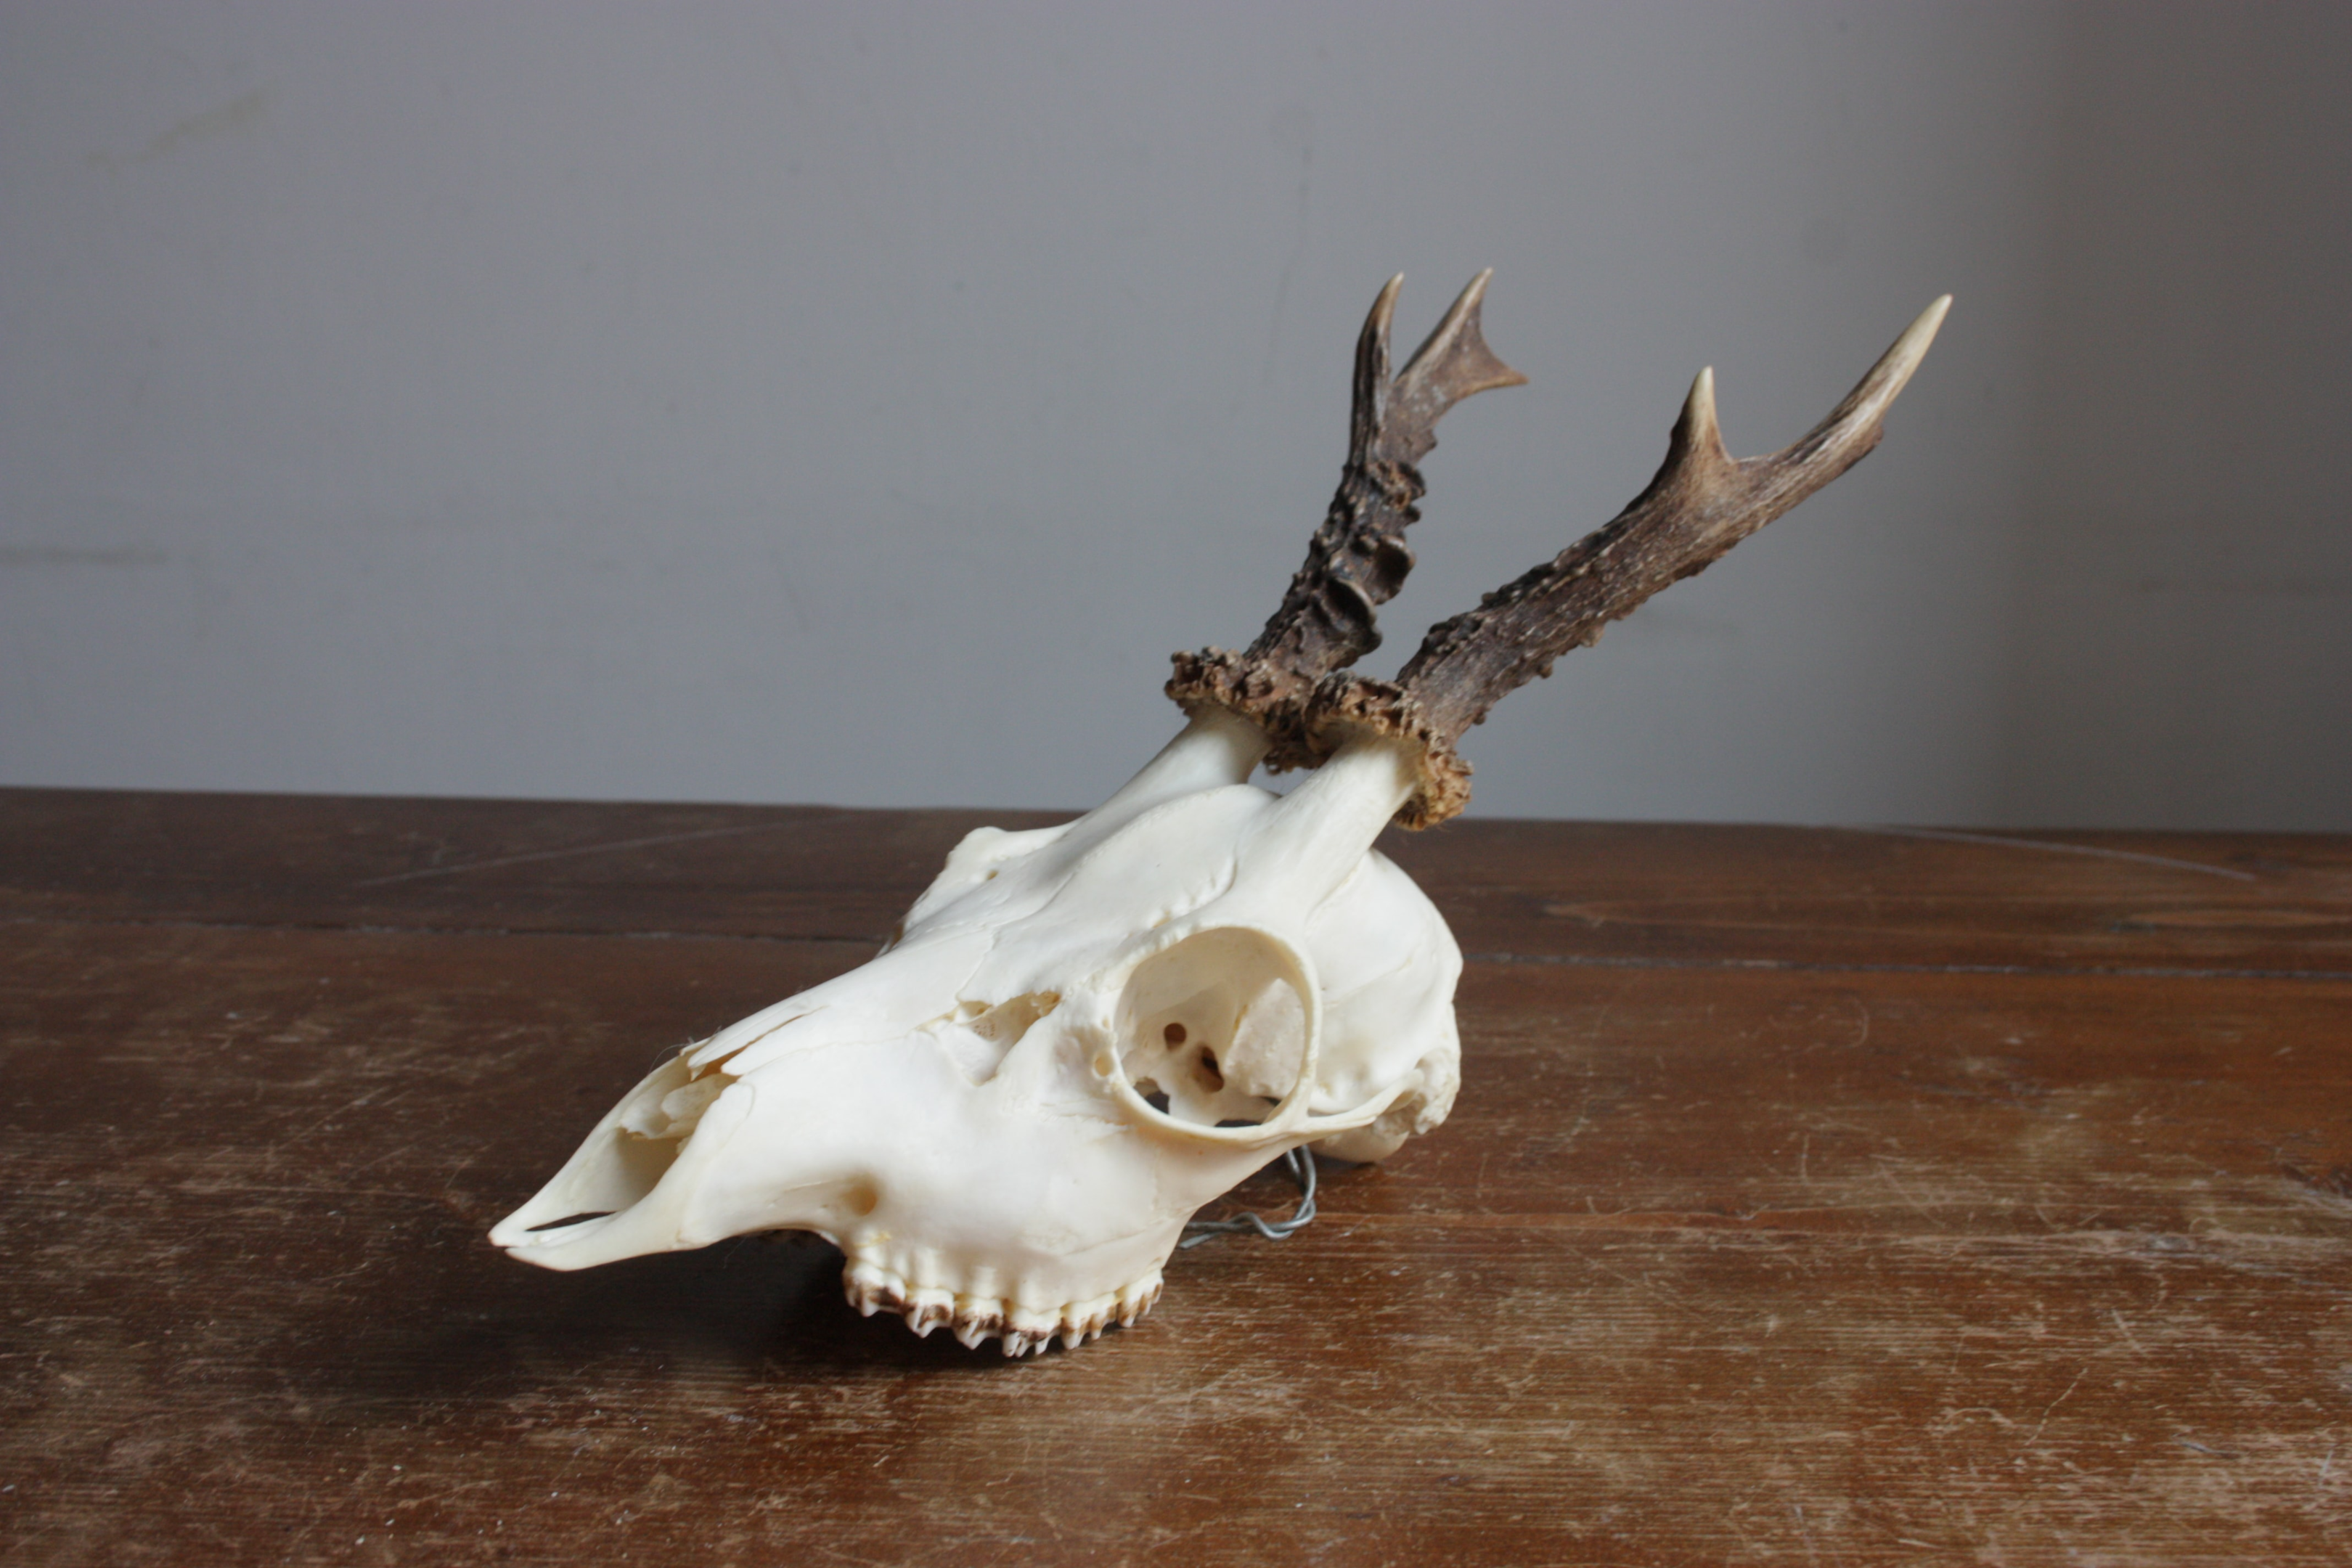
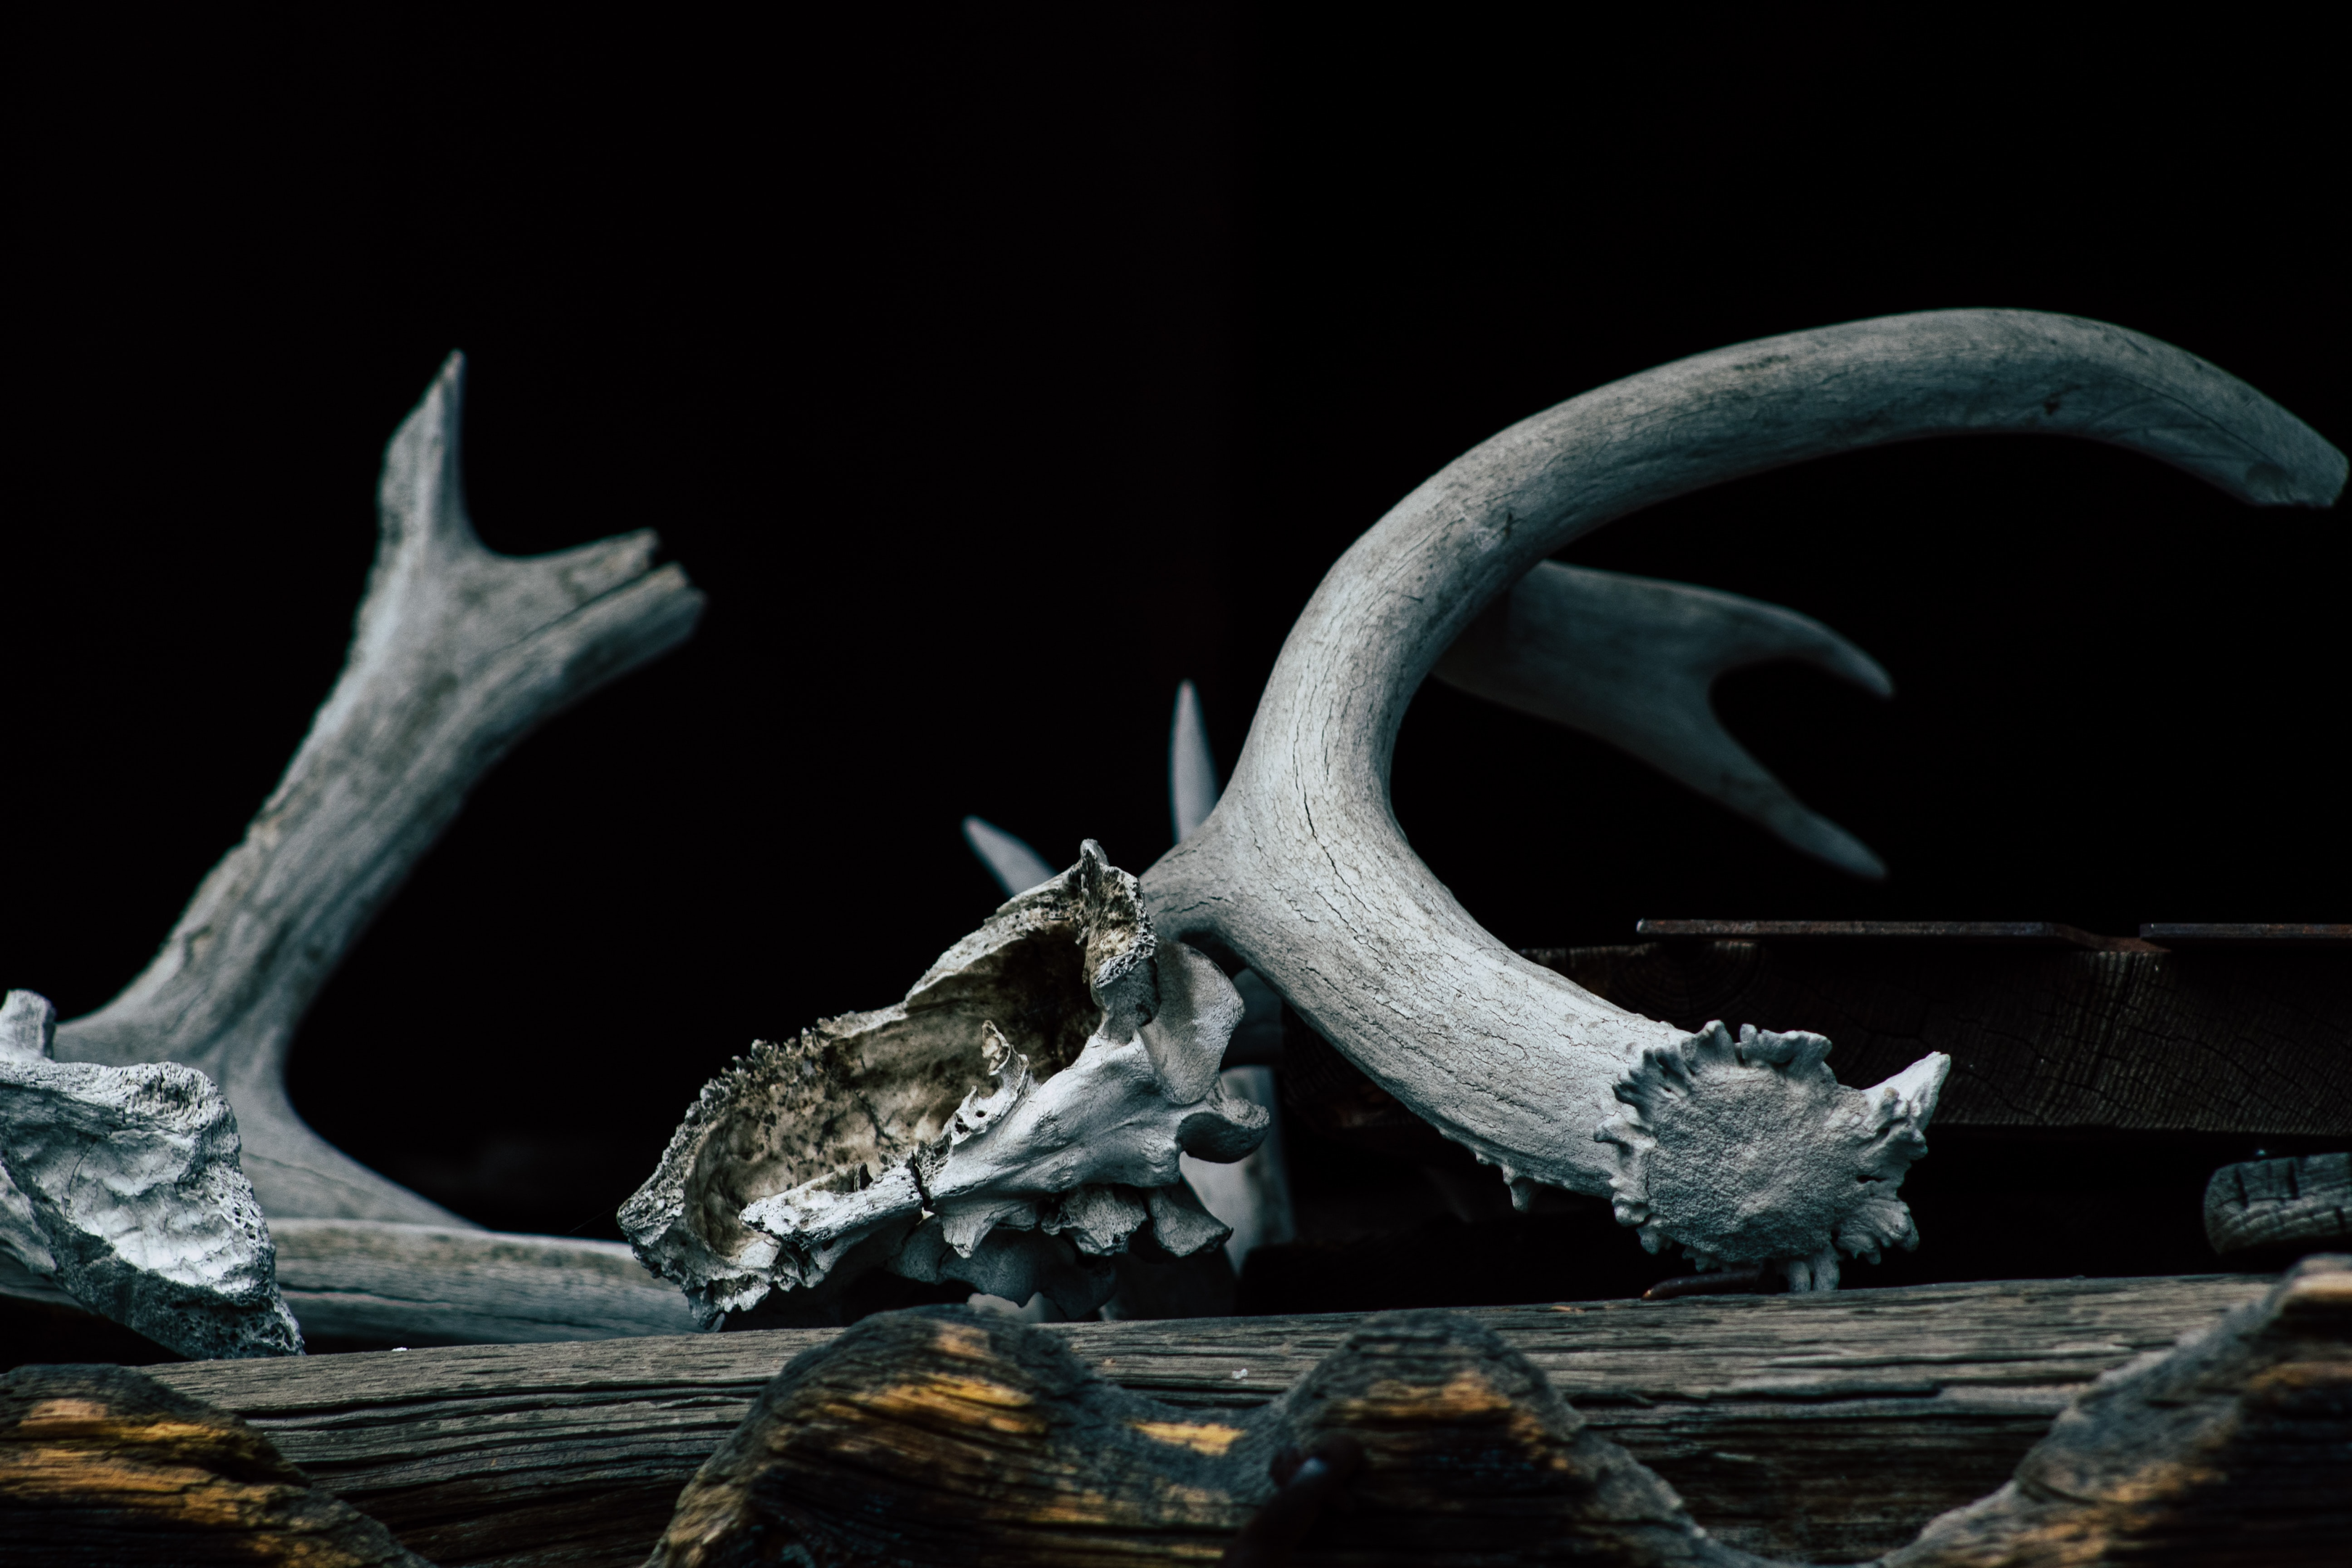
1. Cleaning Dirty Deer Antlers
Cleaning the antlers is necessary before attempting to mount or exhibit them, regardless of whether you found them yourself or were given them. The next stages will walk you through the relatively easy process. Here are methods you can use to clean deer antlers.
a). Take Tissue Out of the Skull Plate
The major goal is to remove any substantial pieces of tissue or flesh from the skull plate. Use a knife to skin this off. Add some 20 Mule Team Borax on it if it’s slick, and you’ll be able to yank and take it off easily.
Sale 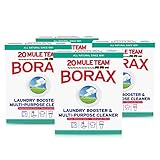 20 Mule Team All Natural Borax Detergent Booster & Multi-Purpose…
- Add to laundry to help remove tough stains, deodorize and freshen
- Wipe on counters and appliances to remove grease and grime and make dishes sparkling clean
- Removes soap scum, hard water deposits, and dirt
- 20 Mule Team Borax is an amazing, all-natural mineral found in all corners of the globe
- Families have been using Borax for all sorts of things such as cleaning, laundry, preserving flowers, DIY crafting, and more
b). Cleaning a Deer Skull Plate with Boiling Water
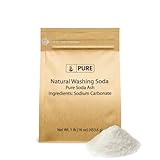
From this point on, boil the skull plate in water. Sal soda (soda ash or sodium carbonate) is added in modest amounts. This speeds up tissue breakdown and cleans the bone. Usually, one or two hours at a low simmer is sufficient.
 PURE Natural Washing Soda (1 lb.), Eco-Friendly Packaging,…
- Pure Original Ingredients Natural Washing Soda is the perfect multipurpose cleaner
- Also called soda ash and sodium carbonate
- Hypoallergenic & non-toxic
- Always pure ingredients with no additives
- Packaged in Utah, USA
While doing this, you may need to add water to maintain a water level above the skull plate. Avoid immersing the antlers too much since some of the colors may be lost if they are cooked for an excessively long time.
A severe color fade line that is more difficult to correct can form if there is a sharp separation between the boiling water line and the dried portion of the antler.
This issue is prevented by maintaining a damp condition for the antlers. To make it handleable, boil the skull plate and rinse it in cold water. Remove any excess tissue and allow it to dry. The skull plate will dry in a few days; once it is, you may do whatever you like with the antlers.
c). Deer Antler Cleaning Using Only Borax
If you want to preserve your deer antler skull caps quickly, you must wash off the tissue and add some borax. Let it completely dry. This choice is usually sufficient for a lifetime free of problems, but you should be wary of high humidity and pests.
d). Getting Rid of Deer Antlers with a Pressure Washer
Another method to effectively clean a deer skull plate without boiling is pressure washing. While Borax is still the best option, a pressure washer will speed up removing all tissue from a deer skull plate if you have several to do.
e). Cleaning Deer Antlers Using Dermestid Beetles
As anyone who knows and cares for a colony of dermestid beetles can attest, these little meat eaters are among the hardest workers you’ll ever find. In a short time, a beetle colony can strip the bone of all remaining meat and tissue.
It seems overkill if you’re only cleaning the skull cap, but preparing a deer skull for a European mount is the way to go. Owning beetle colonies carries some dangers, but it is a worthwhile alternative.
2. Whitening Antlered Skulls
One of the most important steps in prepping deer antlers for mounting is whitening the bones. This makes them look clean and bright and makes the finished product pop. Here are simple tips on how to whiten deer antlers.
The first step is removing all the meat and tissue from the antlers. This can be done with a sharp knife or use a bone saw if you have one.
Next, soak the antlers in a solution of bleach and water for 24 hours. This will help kill any bacteria that might be on the antlers and also start to whiten them.
After soaking, rinse the antlers with clean water and place them in a wire cage or container that will allow air to circulate them.
Put the container in a sunny spot and let the antlers dry for several days. Once completely dry, you can rub them with a cloth soaked in rubbing alcohol to help further whiten them.
Finally, apply a coat of clear polyurethane to the antlers to help protect them from dirt and debris. Allow the polyurethane to dry before mounting the antlers on your wall or display.
3. Adding Protective Coatings for Antlers
Antlers can be protected from future color loss by applying a coating. Additionally, it might seal the antlers against rain and snow, which might be an issue if you live somewhere humid.
The “best” coating for antlers is a hotly debated topic. To avoid an artificial sheen, consider the following:
- Scotts Liquid Gold
- Linseed oil
- Linseed oil plus turpentine in equal measures
- Old English furniture scratch cover
- Wood stain
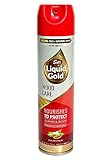 Scotts Liquid Gold A-10 Liquid Gold Aerosol Wood Care – 10 oz
- Restores and enhances wood’s natural color, grain and luster
- Repels dust – Removes light wax buildups
- Replenishes wood’s moisture, to protect against cracking, warping and fading
- Enriches wood’s tone by bringing back its natural color
- Fresh almond scent – 10 oz aerosol
Here are the important tips for applying a coating to preserve velvet antlers.
- Apply linseed oil using a rag.
- Use a paintbrush with soft bristles for polyurethane.
- Multiple light coatings are preferable to a few heavier ones.
- When purchasing any sealants, select “matte” over “shiny.”
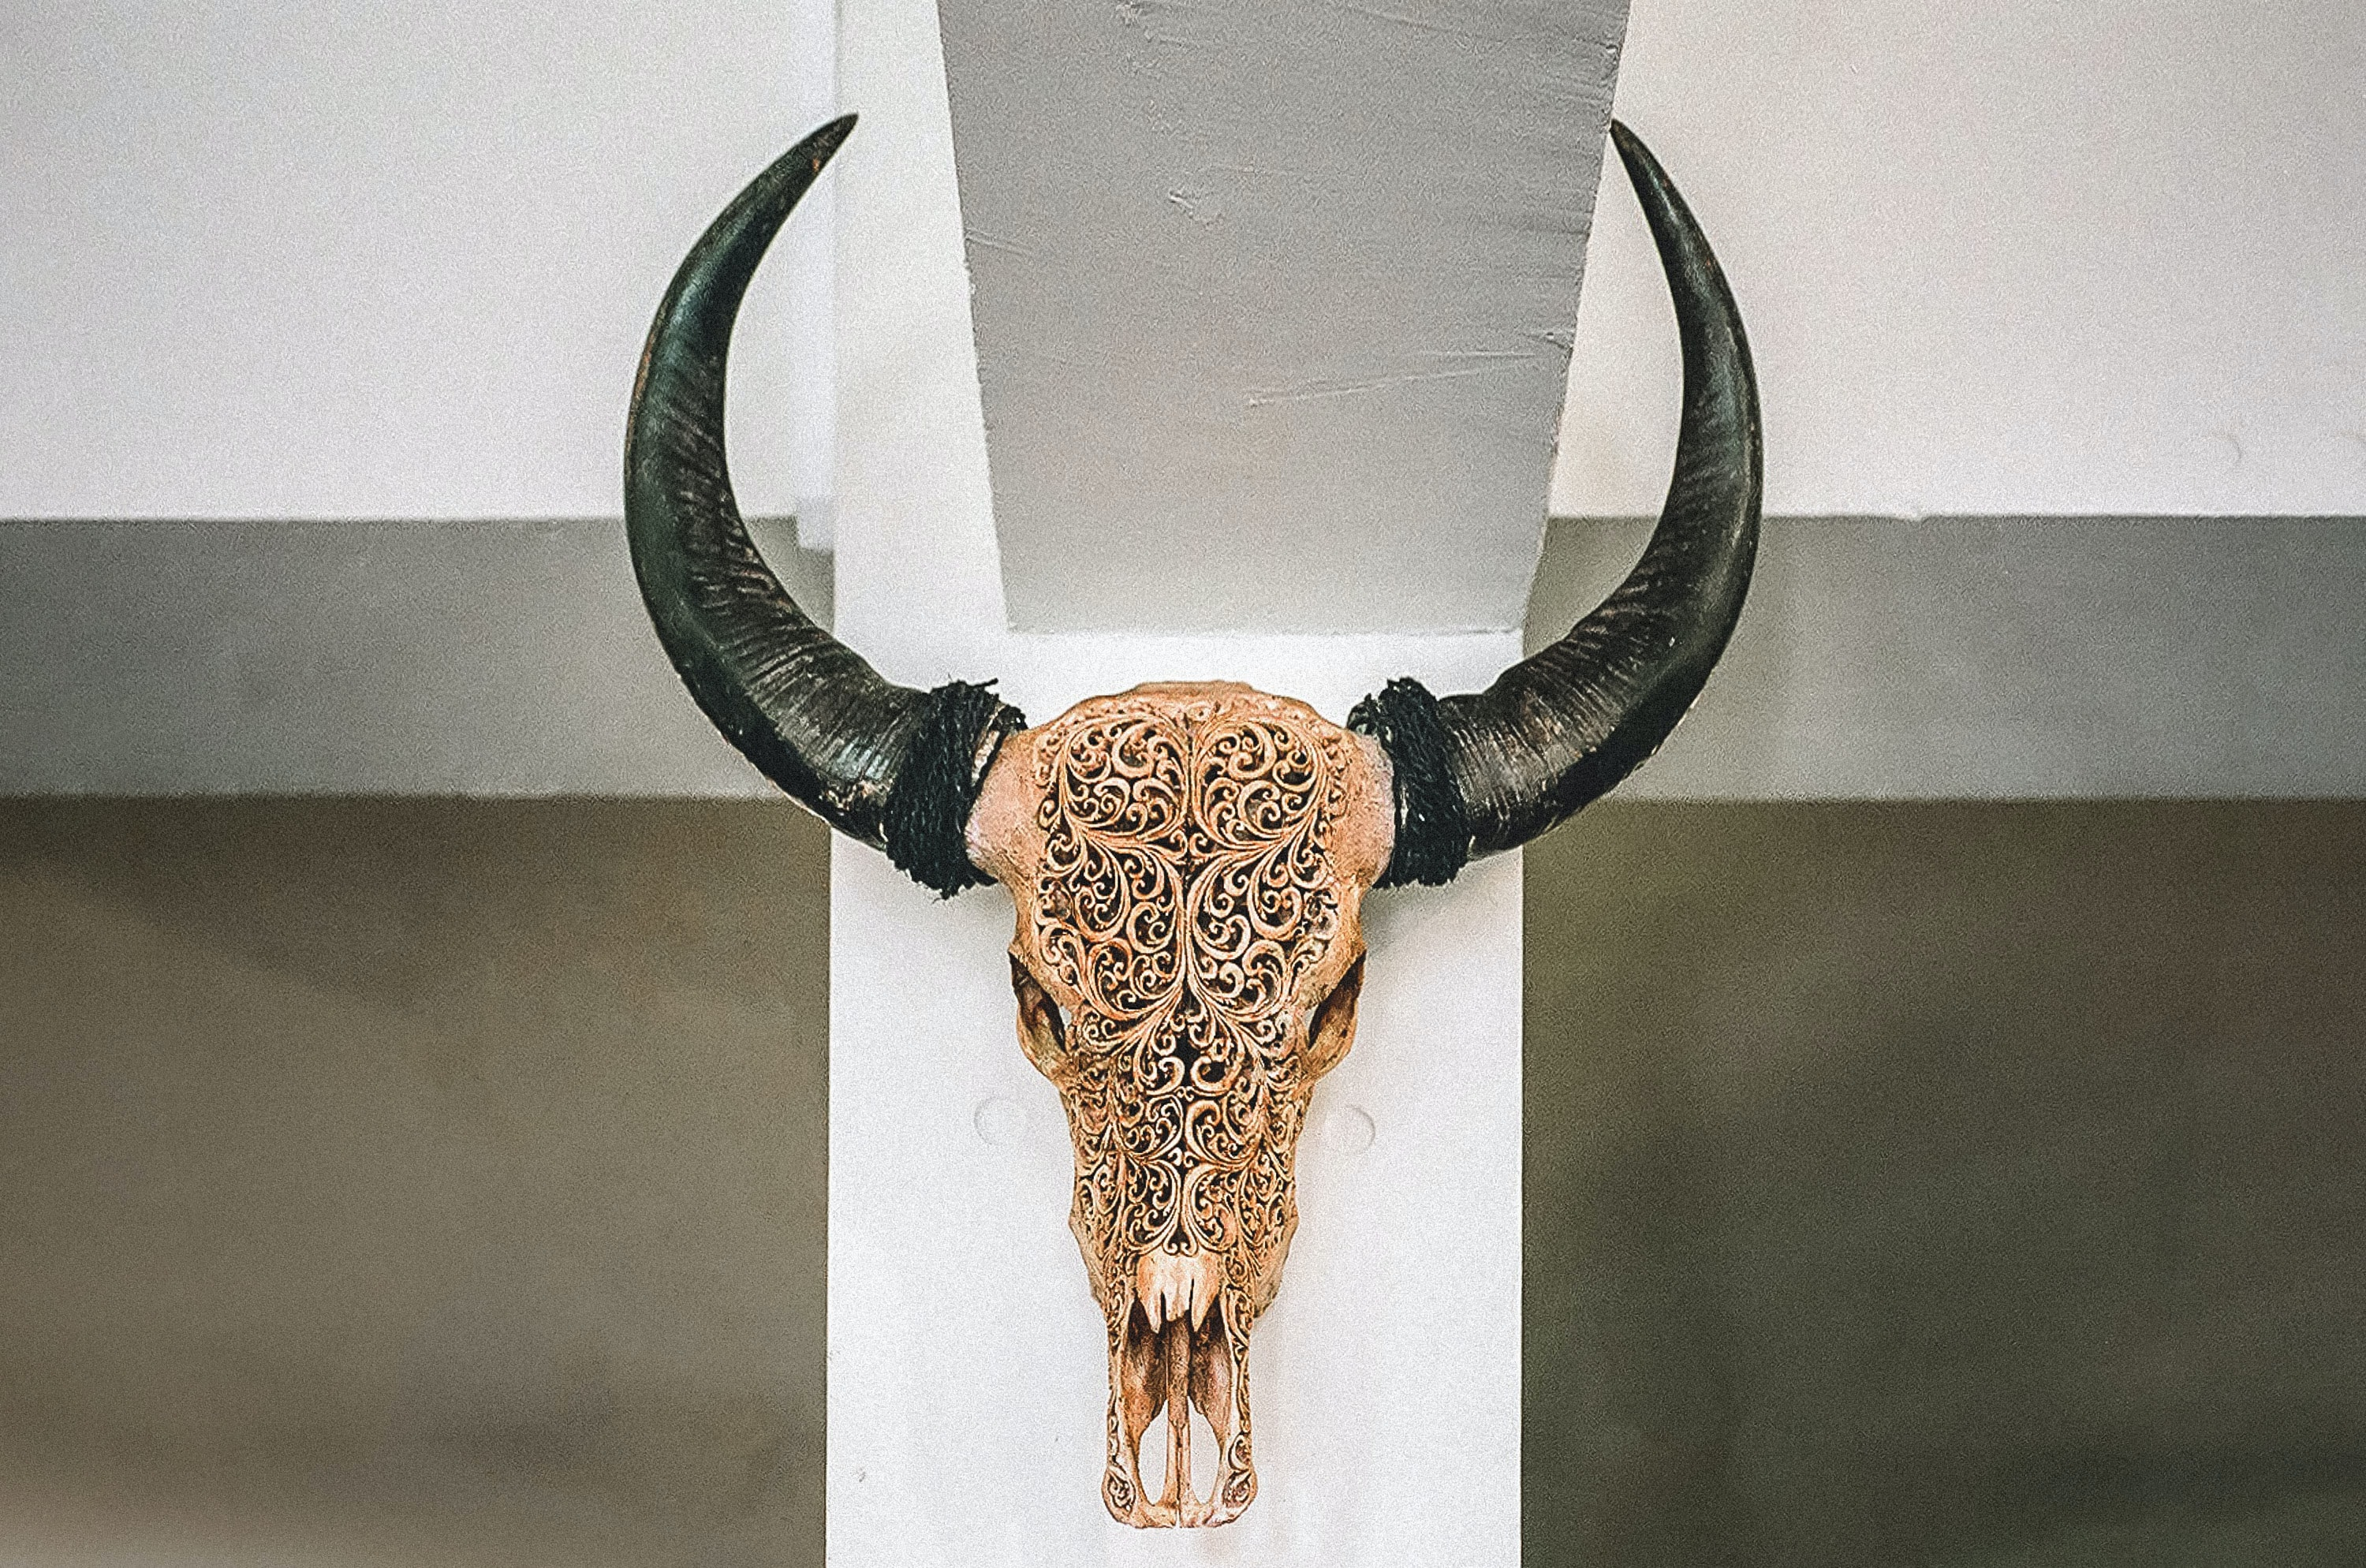
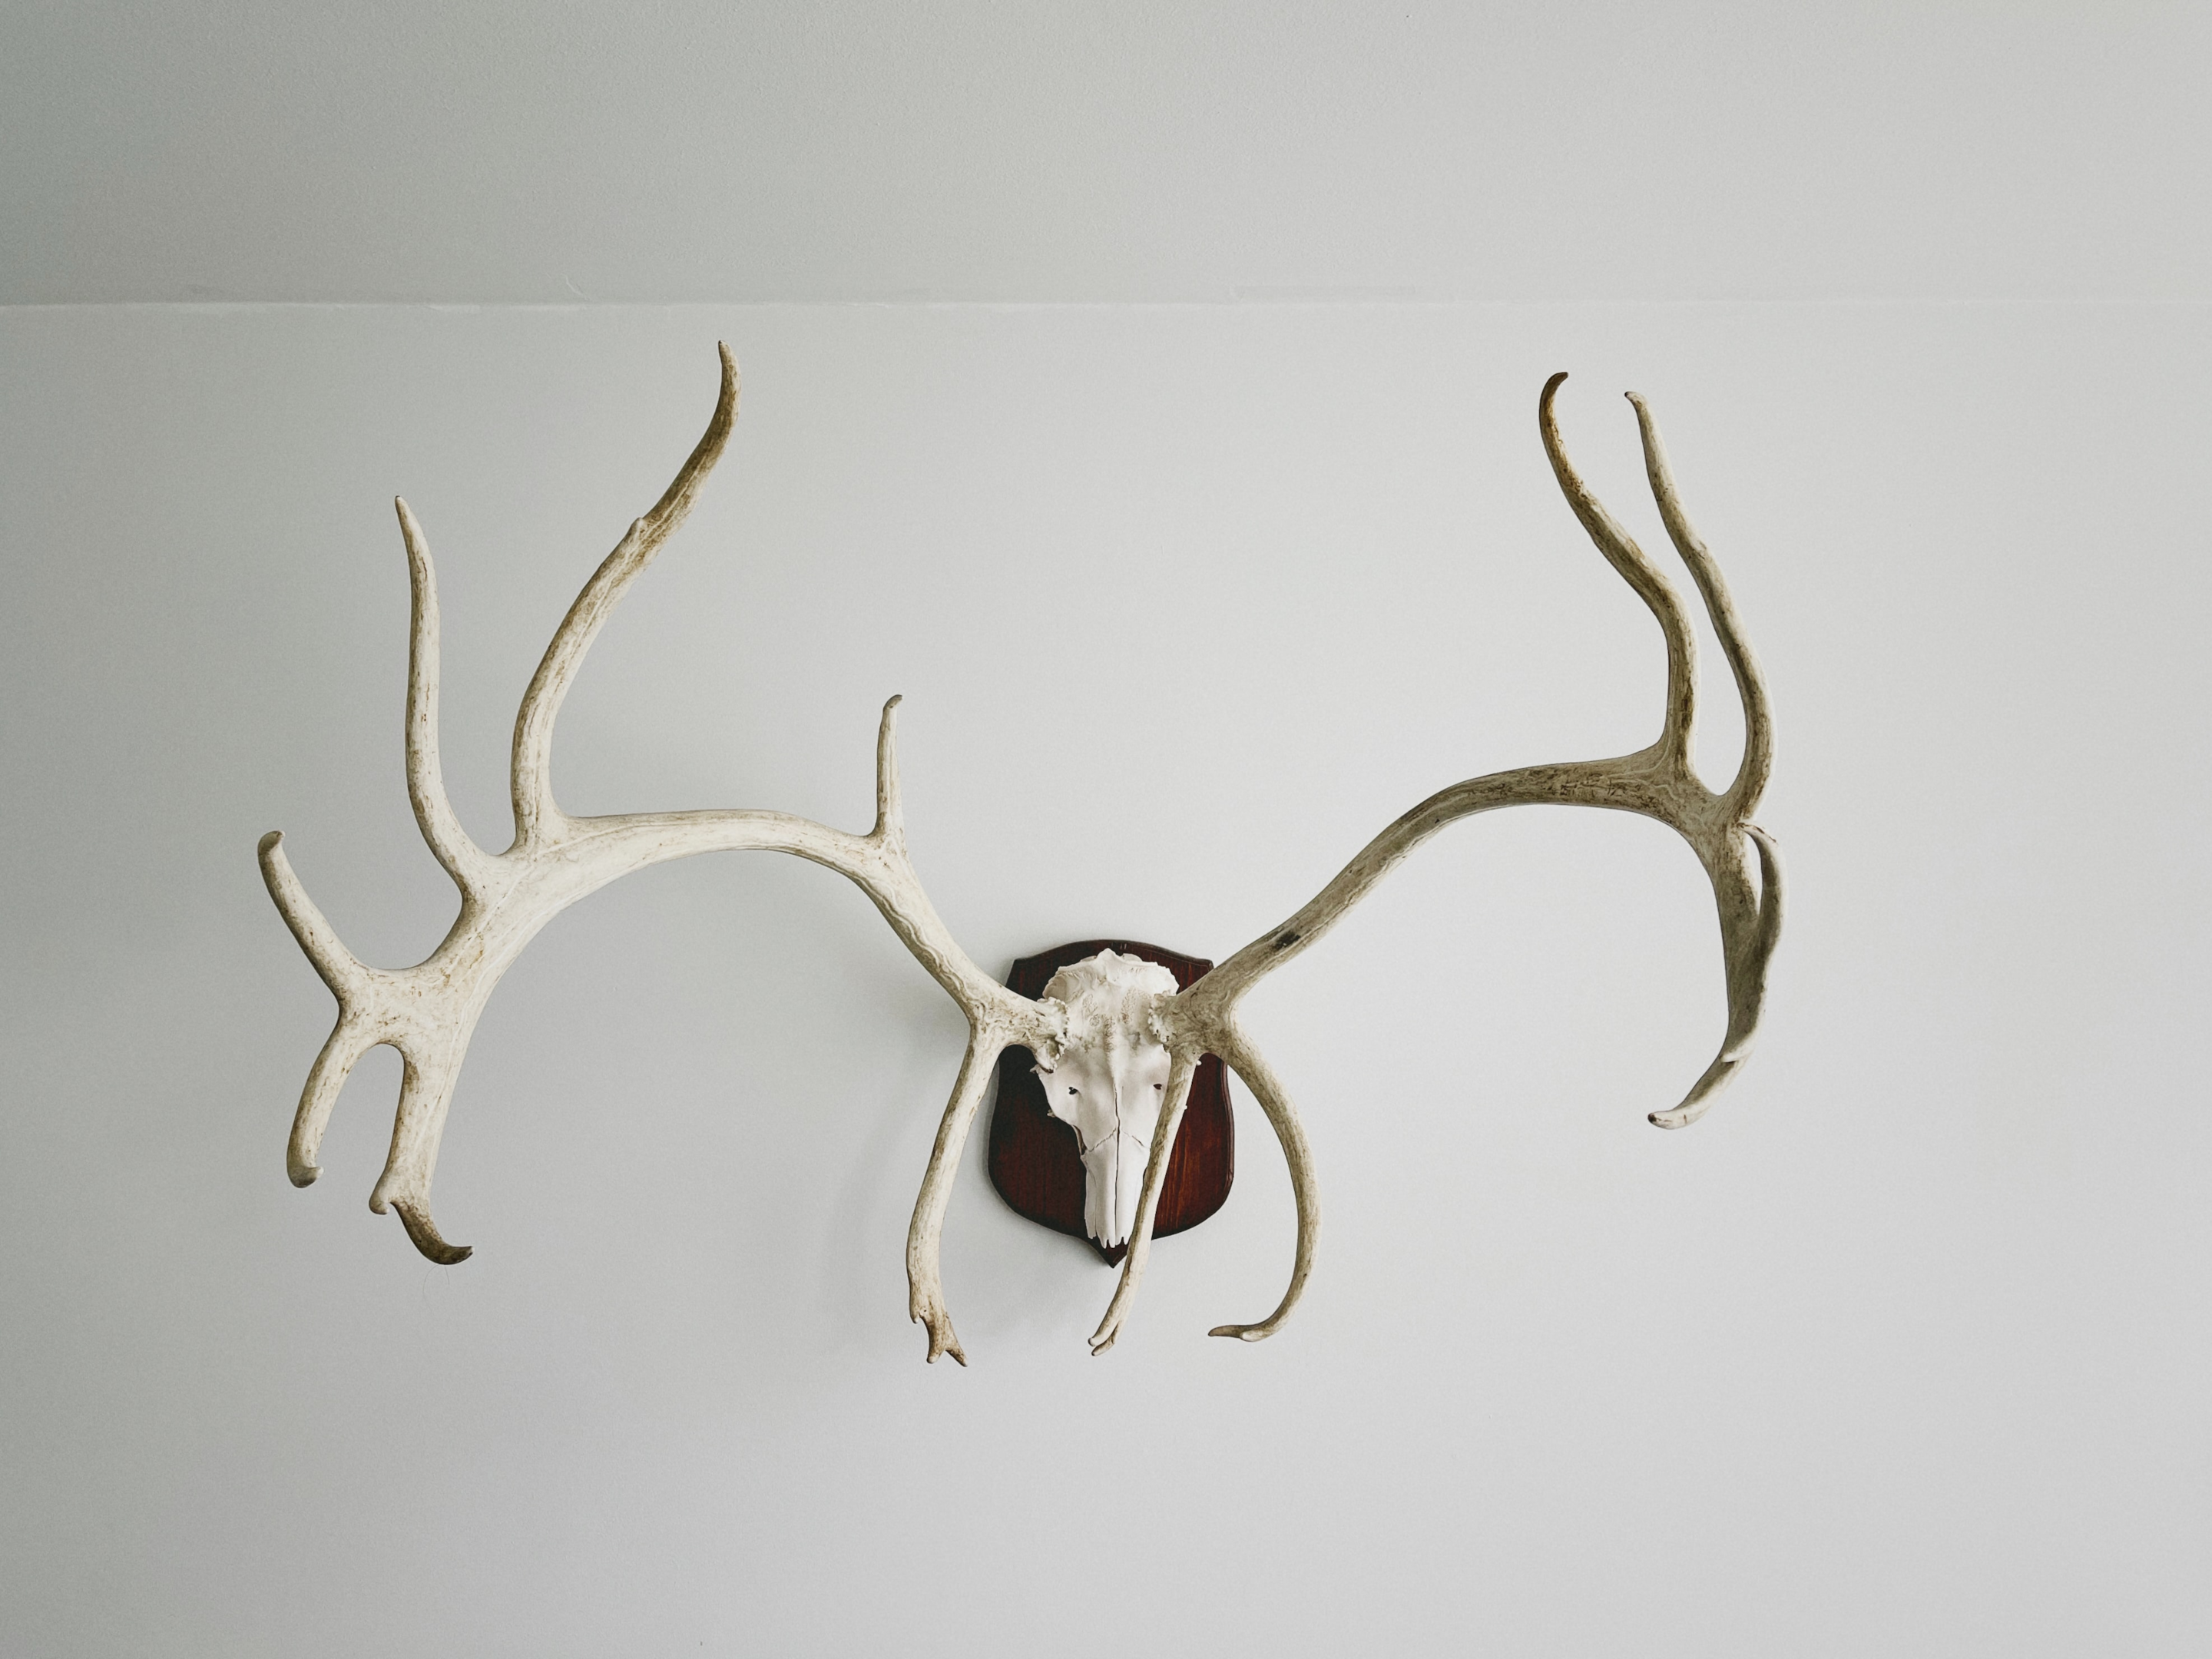
4. Mounting the Antlers for Display
The antlers and skulls can be displayed after being whitewashed and coated. There are numerous ways to accomplish this. Some people enjoy using antlers to create cool works of art. I use mine to hang jewelry.
Alternatively, you might go the traditional route and purchase a European Skull Mount set. Before purchasing the mount, make sure to measure the required space. Some are designed specifically for little skulls and antler racks.
 Mountain Mike’s Reproductions Skull Master – Universal Antler Mounting… Buy on Amazon
You will need the following:
- A reliable saw
- Sandpaper
- A strong adhesive
- Antlers
- Paper towels
Instructions:
- Cut the antlers at the base, close to the skull, using a saw. Be sure to cut evenly so that both antlers are the same length.
- Next, use sandpaper to smooth out any rough edges on the antlers.
- Once the antlers are smooth, glue them to a paper towel with a strong adhesive. Ensure that the antlers are secured well and will not move around.
- Allow the adhesive to air dry before mounting the antlers on your wall or display.
- 5. Care For Mounted Antlers
Antlers on a wall should be kept at a constant temperature. Therefore, extreme temperatures are the worst. Recommended temperatures are between 65 and 70 degrees Fahrenheit.
Mounted antlers should be kept out of direct sunlight if they are to be displayed in a room with a temperature that rises beyond 70 degrees. Place them somewhere warm and out of drafts if the temperature goes below 65 degrees.
Dust the mounted antlers with a soft cloth or duster to keep them clean. You can buff them with a dryer sheet if they look worn.
Use a soft toothbrush or cotton swab dipped in rubbing alcohol to eliminate any other obstinate dirt or debris. Avoid using any kind of cleanser or solvent on the antlers because doing so could destroy the finish and harm the mounting components.
You should check the condition of your mounted antlers regularly for any signs of damage. Before putting them back on display, take them down and get them professionally fixed if you find any cracks, chips, or other damage.
Conclusion
Having your deer antlers preserved is the best method to ensure they last for years. Your preserved deer antlers will be a permanent memory of your successful hunting trip if you take the necessary precautions.